
I selected this experiment as a hands-on activity to compliment the Faults video. Using a model is an easy way to explore how faults work, and what causes the different kinds of faults.
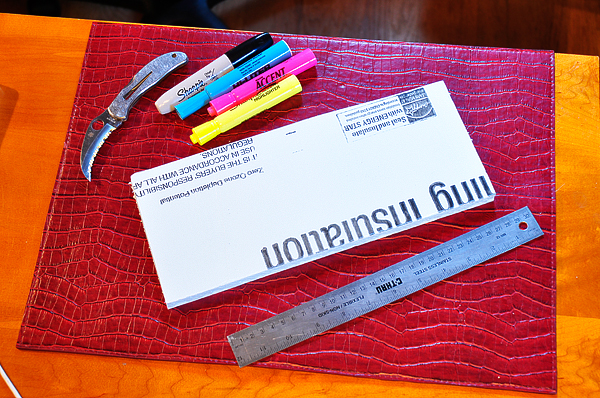
To try this, you will need:
- a rectangle of foam insulation, Styrofoam, or some other similar material
- a knife to cut the block
- colored tape or colored markers
- a ruler
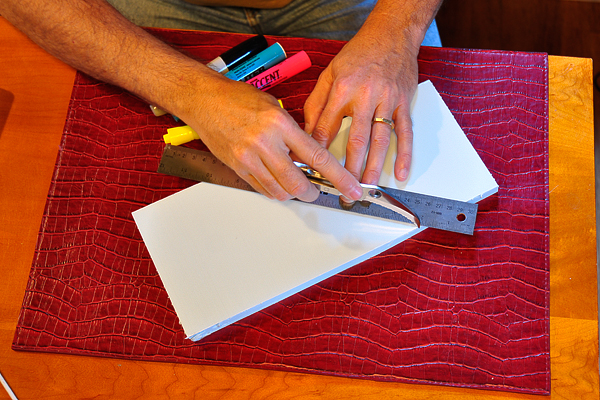
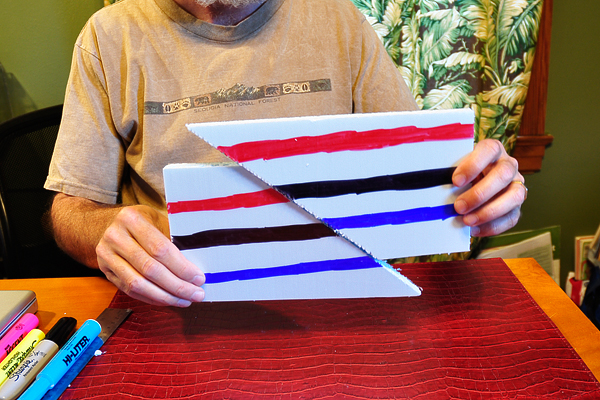
Use the ruler and knife to make a diagonal cut across the middle of the rectangle. You want the angle to be fairly shallow, not too steep. Try to make the cut as straight as possible.
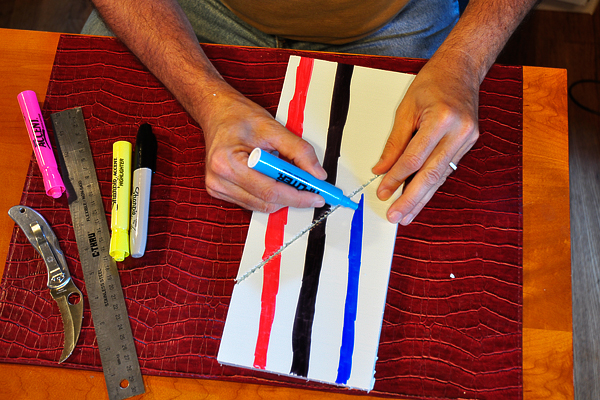
Use the colored tape or markers to draw layers. You could do this step before making the cut, but I found that I had to redo it after cutting, so you might as well wait. You can make as many or as few layers as you want.
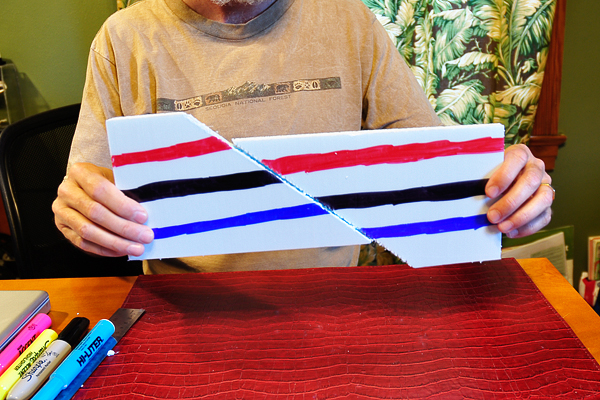
When you hold the two halves together, with the layers lined up, the cut represents a joint. Joints are cracks in the rock where there has not been any movement.

Holding the blocks loosely, move them apart about an inch or two, letting the top block slide over the bottom block. Since there has been movement along the break, now you have a fault.
Looking at the fault, the top block (on the right) is called the hanging wall. The bottom block (on the left) is called the foot wall. Notice that when you moved the two blocks apart, the hanging wall wound up lower than the foot wall. That makes this a Normal Fault, sometimes called a Gravity Fault. Normal Faults are common in the Western United States and in the Mid-Atlantic Ridge.
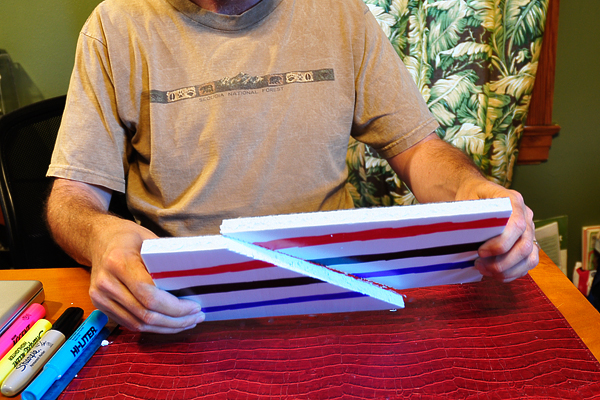
Next, try gently pushing the two blocks towards each other. This time, the hanging wall slides up over the foot wall. This is a Reverse Fault, sometimes called a Thrust Fault. Reverse Faults are found where one tectonic plate is moving over another. There are many Reverse Faults around Japan.
Put the two halves of a fault can move other ways. Instead of pulling the blocks apart or pushing them together, move one of them towards you or away from you. Looking from the side, the layers still line up, but looking from the top, you can see that things have shifted. This is a Strike Slip Fault. The San Andreas Fault in California is a famous example of a strike slip fault.
You can learn a lot about faults and earthquakes by playing with these fault blocks. By applying gentle pressure, you can see how pressure can build up slowly, and how the fault can move quickly, causing an earthquake, once the pressure builds to the point where the blocks move. You can also see that it does not matter which block moves. You can move the left half outwards or the right half outwards. Both will give you a Normal Fault. You can push either side towards the other, and regardless of which one moves, you will still get a Reverse Fault.
Have a wonder-filled week.